Style Series: How to Clean Your Jewelry
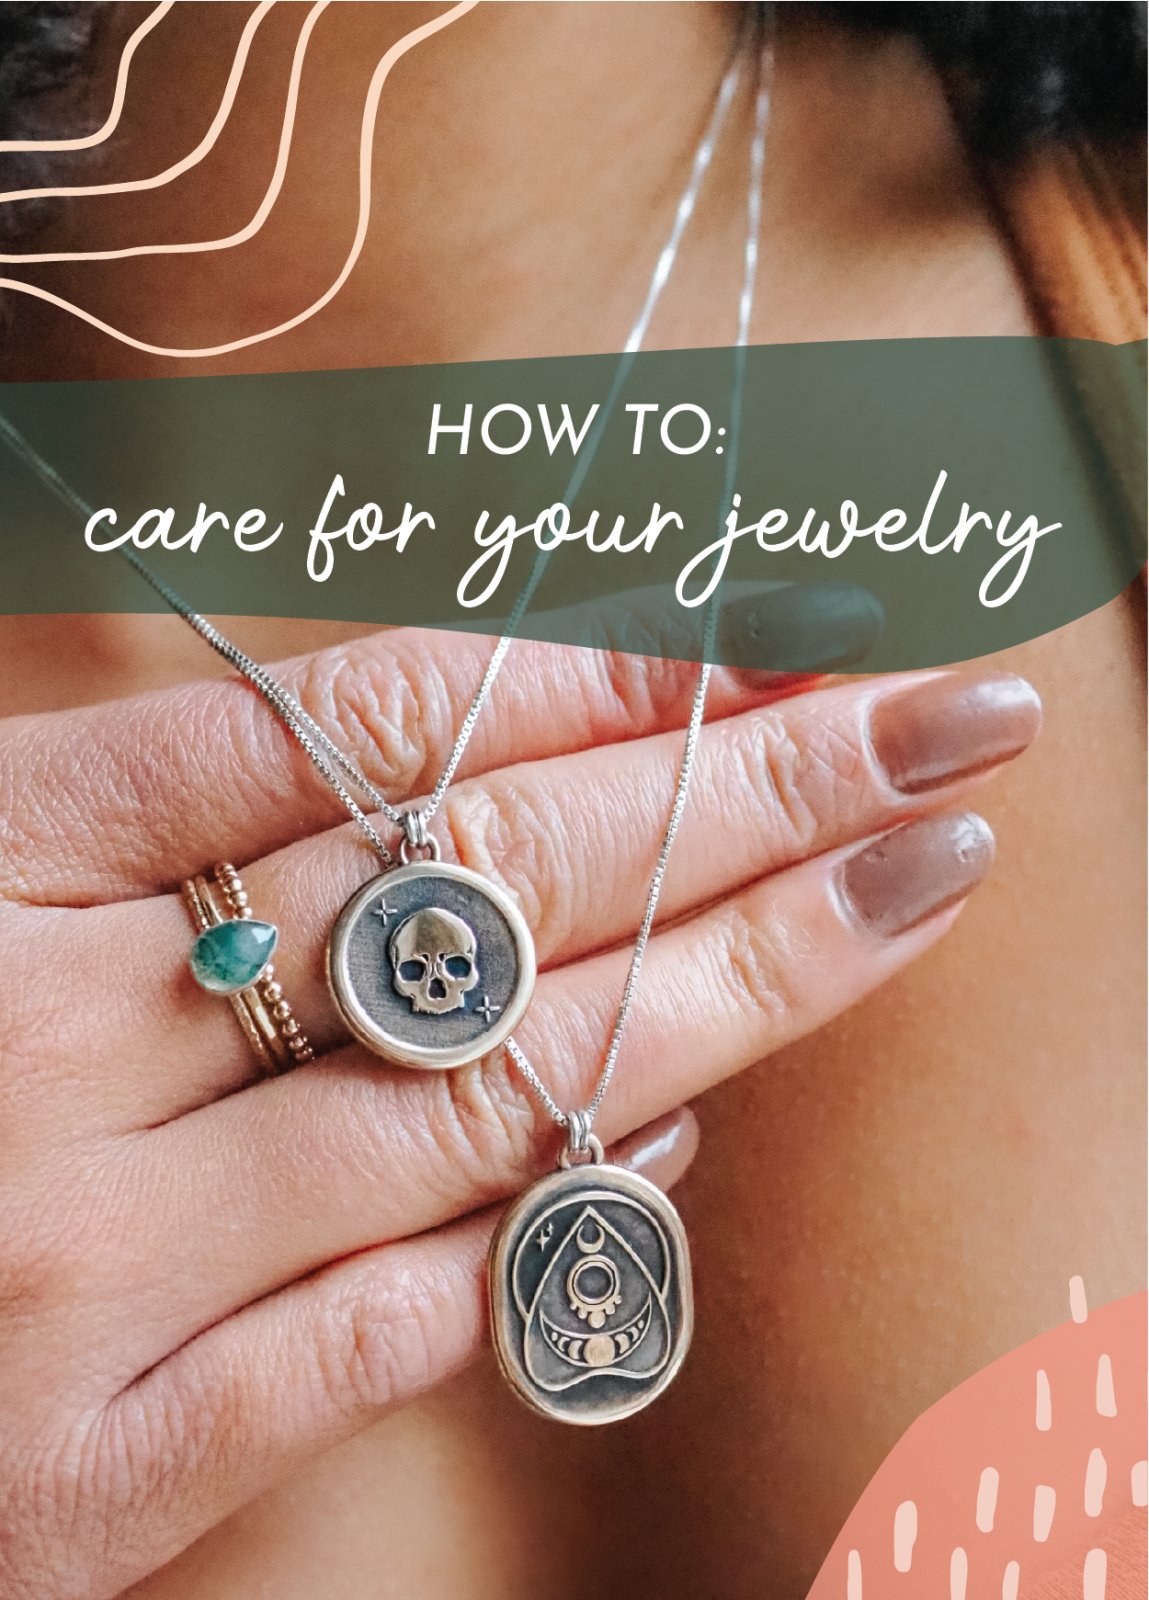

If you have tarnished jewelry that needs a good cleaning, try making this homemade jewelry cleaner; you probably already have all the ingredients you need, and it only takes about 20 minutes.
Scroll down to watch our tutorial on IGTV, and some pro tips on keeping your jewelry looking it's best between each cleaning.
This tutorial is specific to sterling silver jewelry, but can also apply to bronze, brass, and gold filled pieces as well!
1. STAY OUT OF THE WATER
Whether you are doing the dishes, or going for a swim in the pool, always remove your jewelry before going in water. Chemicals in laundry detergent, dish soap, or even your tap water can discolor the finish or damage your stones.
Yeah gold fill is a resiliant metal, but it truly is not designed to face prolonged exposures to non-neutral solutions. Who knows what is in your water that could impact the overall finish of your treasured pieces.
It also bears mentioning that this includes the shower! The last thing you want is to catch your jewelry with your hair and a palm-full of shampoo and lose an earring down the drain or worse, bend a claw and lose a gemstone. Do not take the risk. Take your jewelry off!
2. STORE YOUR JEWELRY WITH CARE
Avoid spaces with humidity for precious metals. Instead of storing your jewelry in the bathroom, opt for a clean and dry jewelry box on your bedside table. If you're travelling, a couple ziplock bags will do in a pinch!
3. USE A GOOD POLISHING CLOTH
A good polishing cloth can work wonders for your silver and brass jewelry. They already come with chemicals that are perfect for cleaning your jewelry without scratching the metal so no additional cleaning liquids are required.
4. BE CAREFUL WITH ULTRASONIC CLEANERS
While these have become popular for cleaning gemstones and jewelry with intricate details they are not always the best option and can sometimes ruin jewelry so be sure to read the care instructions for your pieces.
Ultrasonic cleaners use sound waves to vibrate apart dirt particles, oils, and the gunk that can get stuck in your jewelry. Gemstones with inclusions, heat treatments, or soft surfaces (salt and pepper diamonds, sapphires, and opals) should avoid ultrasonic cleaning, while 14k gold pieces are usually okay for very short spurts.
If you aren't sure, you can always consult the original jeweller , but if you are in doubt, let a professional handle the cleaning.
5. REGULARLY INSPECT YOUR STONES
Keeping an eye on the claw settings and bezel settings of your stones can really save you a headache. Check your jewelry regularly to make sure no claws have bent, there are no scratches on softer stones, and be wary of any cracks that might form as a result of rough housing or dropping your jewelry. Catching a claw before the stone falls out is always ideal and can save a cherished piece.
HOW DO YOU CLEAN THE DARK OXIDATION?
Over time, silver and brass jewelry can attract oxygen molecules to the surface of the metal. There is a chemical reaction going on where the copper present (even in minute amounts) is loading on oxygen molecules leading to the light brown and sometimes even black color your jewelry can turn as it is exposed to oxygen over time.
It's tough, because copper is built into the metal to help keep it strong and keep is shape, 999 fine silver does not have as much copper in it, and doesn't tarnish as fast, but it is a weaker, more brittle metal, and tough to make into jewelry. That's why you see it in silver plating and similar, instead.
Thankfullly, all we have to do, is pop those oxygen molecules off the surface of your metals and they will be bright and shiny like new!
To do this, we want to use a combination of sodium (aka baking soda), salt, aluminium foil, and a bit of boiling water to excited the atoms and get the party started!
DIY HOME JEWELRY CLEANING
You will need:
- Medium-sized bowl (that will hold your jewelry, fully submerged)
- Aluminum foil
- Boiling Hot water
- Baking soda
- A pinch of salt
- Paper towel
Instructions:
- Get your bowl ready: Line your bowl with a sheet of aluminum foil large enough to cover the bottom and sides of the bowl.
- Add dry ingredients: Add 1 tablespoons of baking soda and 1 pinch of salt to the bowl.
- Add hot water: Boil 2 cups of water in a kettle and add it to the lined bowl. The bowl should be at least halfway full (or at least full enough to cover the jewelry you’ll be cleaning).
- Carefully drop your jewelry in: Add one piece at a time. If they’re small pieces (like rings), you can add several at a time, but do not let them touch). Ensure each piece is touching the aluminium foil lining. Let the jewelry soak for anywhere from 3 to 5 minutes. You’ll start to see the tarnishes begin to disappear. Don’t let the jewelry soak longer than 5 minutes.
- Remove the jewelry: After a couple minutes, carefully remove the jewelry and lay it to dry on the paper towel.
-
Let dry:
Do not rinse the jewelry. Just let it dry on a cloth or paper towel. Repeat until you’re finished with all your jewelry. If you’re soaking multiple pieces (more than three) start over with a fresh bowl and solution.
NOTES
- This DIY cleaner works on silver-based jewelry. It is not recommended for gold, gemstones, or cheap costume jewelry. Sterling silver and other true silvers work best for this DIY.
- Heavily tarnished pieces may need a second treatment.
- If you’re looking to clean your silverware, test a small piece first before soaking your entire collection.
- The main benefit of this method is that you’re not using chemicals or products with ingredients you don’t recognize or trust. It’s also cheap, effective, and doesn’t take a long time to do. I haven’t found a drawback yet of this method yet and know it will be my go-to method for cleaning all my jewelry from now on.


